Getting StartedHow to Start Making A Game
The data for games created in this program is managed in a format called a "project". A project contains all the data and resources that make up a single game. If you want to use images and music you've created yourself, you can also import those files into the project.
Project Management Screen
When you start up the program, the project management screen will be displayed. This is where you can choose the project you want to access, and advance to the editor screen.
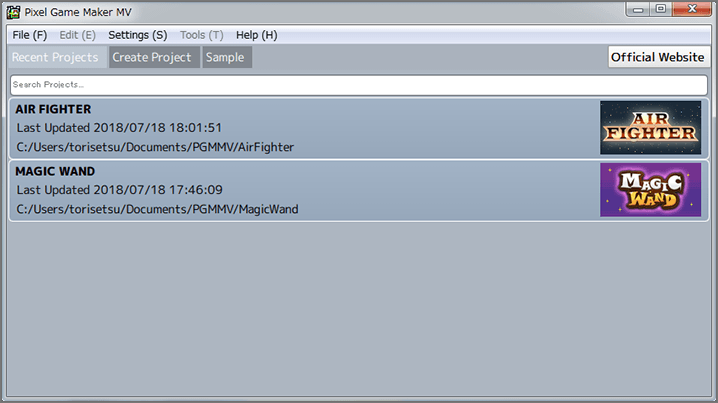
| Recent Projects | Choose the project you want to work on from a list of recently-accessed projects. |
|---|---|
| Create Project | Create a new project. |
| Sample | Use a sample project to start creating a game. |
Creating A New Project
Select "Create Project", input the default settings, and click "Next". Select the type of game you want to create, either side-scrolling or top-down, then select "OK", and a project will be created.
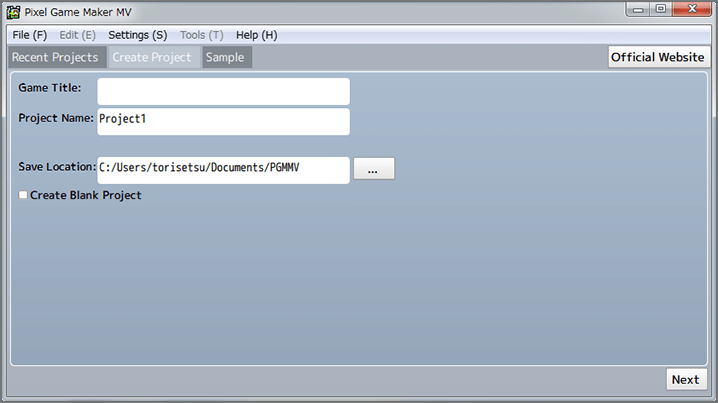
Initial Settings
| Game Title | Input a title for your game. |
|---|---|
| Project Name | Set a name for your project. (Half-width alphanumeric characters are recommended) |
| Save Location | Select a location where your project will be saved. |
| Create Blank Project | By leaving this unchecked, when you create a project, you can start out working with a set of registered sample resources for the game type you selected. When this is checked, said resources will not be registered. |
* Project name and game type cannot be changed after the project has been created.
* When "Create Blank Project" is checked, you can start out by setting tile size, resolution, number of players, etc. For more information, see here.